1. Open Liana
Restoring in Liana means opening an already existing wallet and being able to see its balance and possibly spend from it - according to the set of keys that you possess relative to the spending policy of the specific wallet. First thing to do is to download and install Liana.
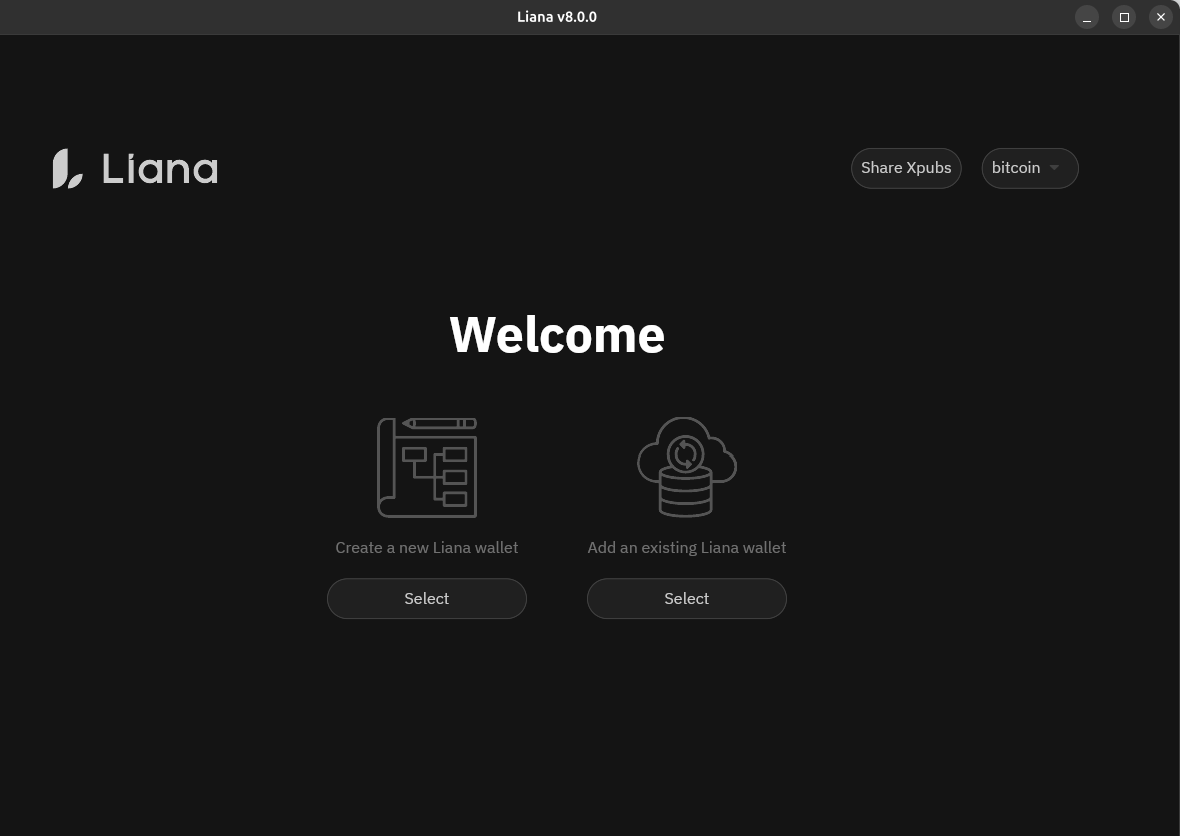
Opening Liana, you will need to select the “Add an existing Liana wallet” option:
2. Select Blockchain Data Source
Next, you will be asked to select a source for the blockchain data:
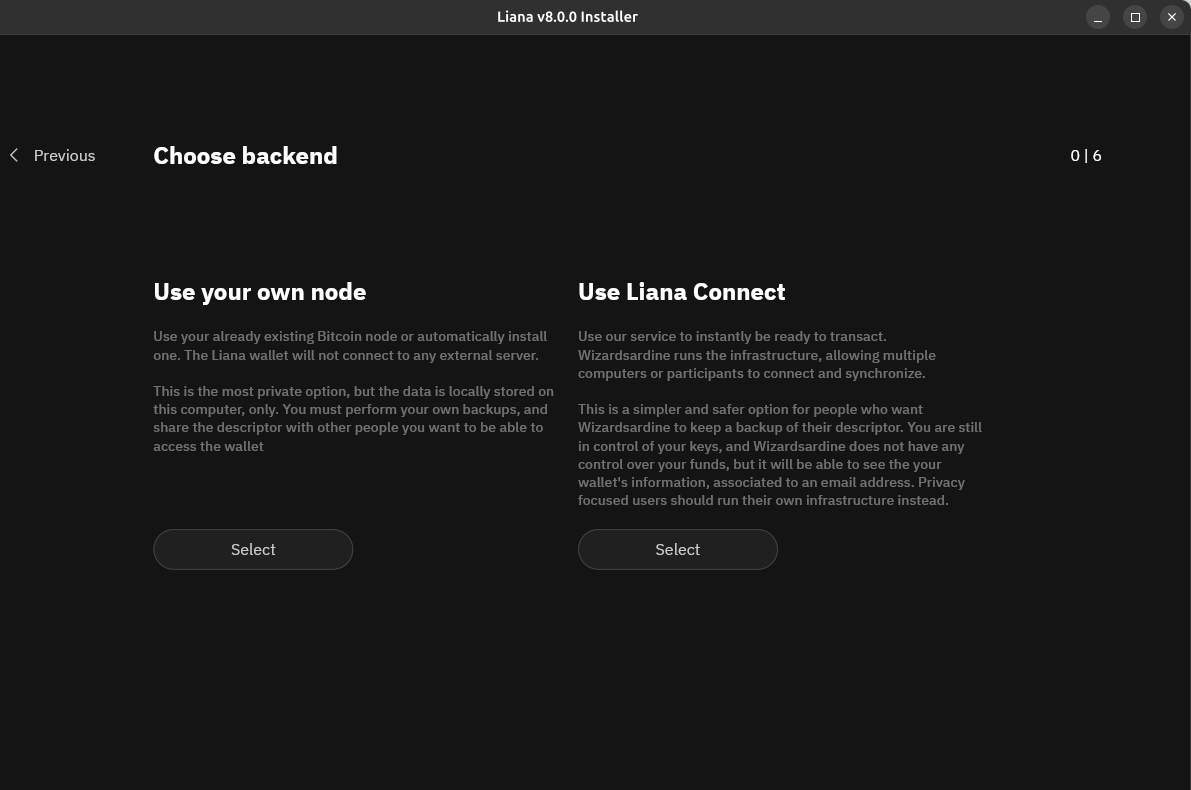
Select Liana Connect if you want a quick way to access the wallet data and/or if the wallet you want to restore was already linked to your email address via Liana Connect. Select “Use your own node” if you already have a full node with either an Electrum Server to connect to or a Bitcoin Core instance running on the same machine, or if you are eager to wait for Liana to automatically download one for you and use some of the disk space of your computer to store it (currently ~25GB). If you select the latter, you will be able to specify whether you want to connect to your already existing node and inserting the connection info or to use the Liana-managed pruned node option in a later step.
3. Load your Wallet
If you selected Liana Connect in the previous step, you will have the following options to pick from:
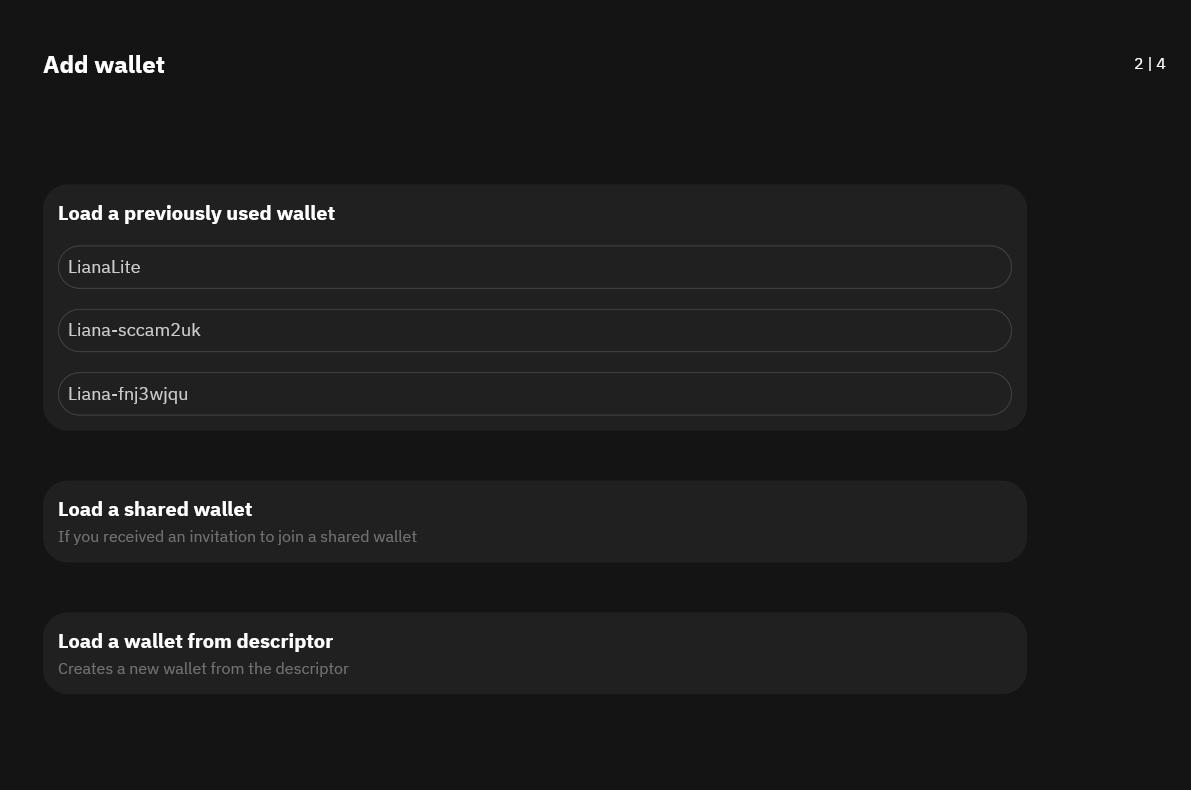
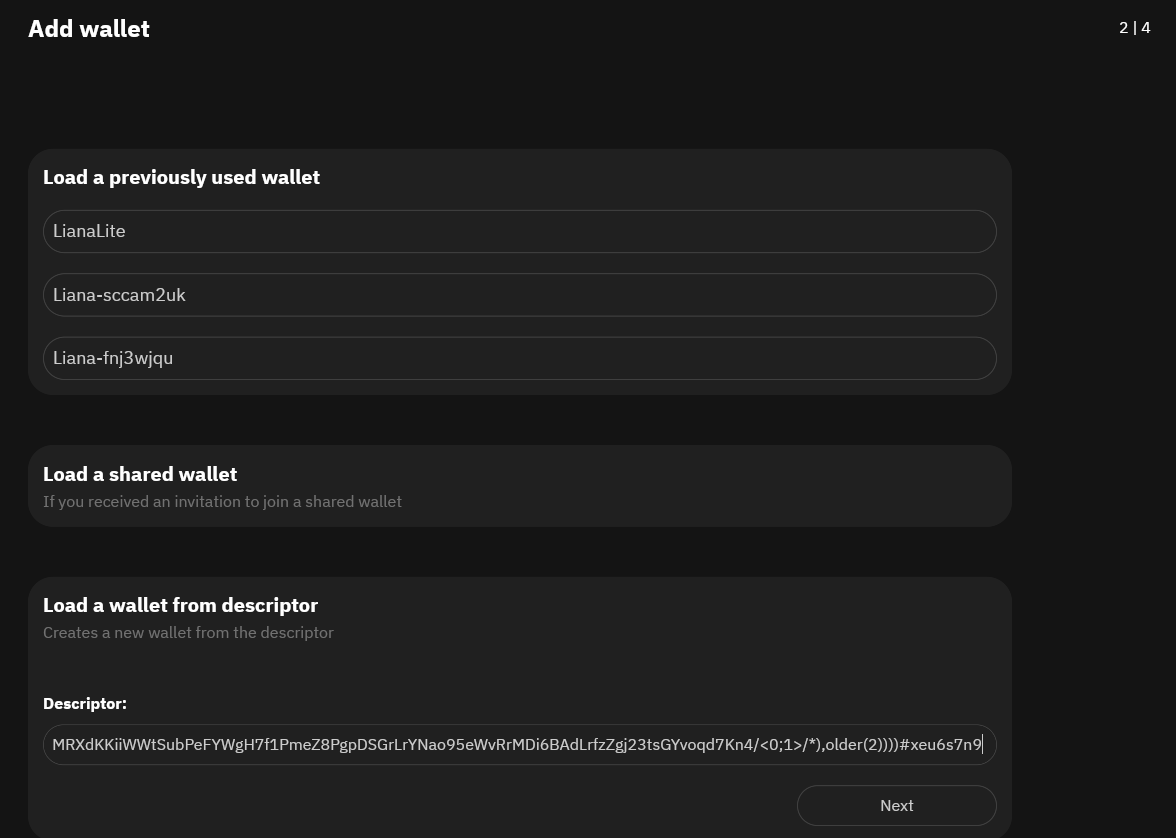
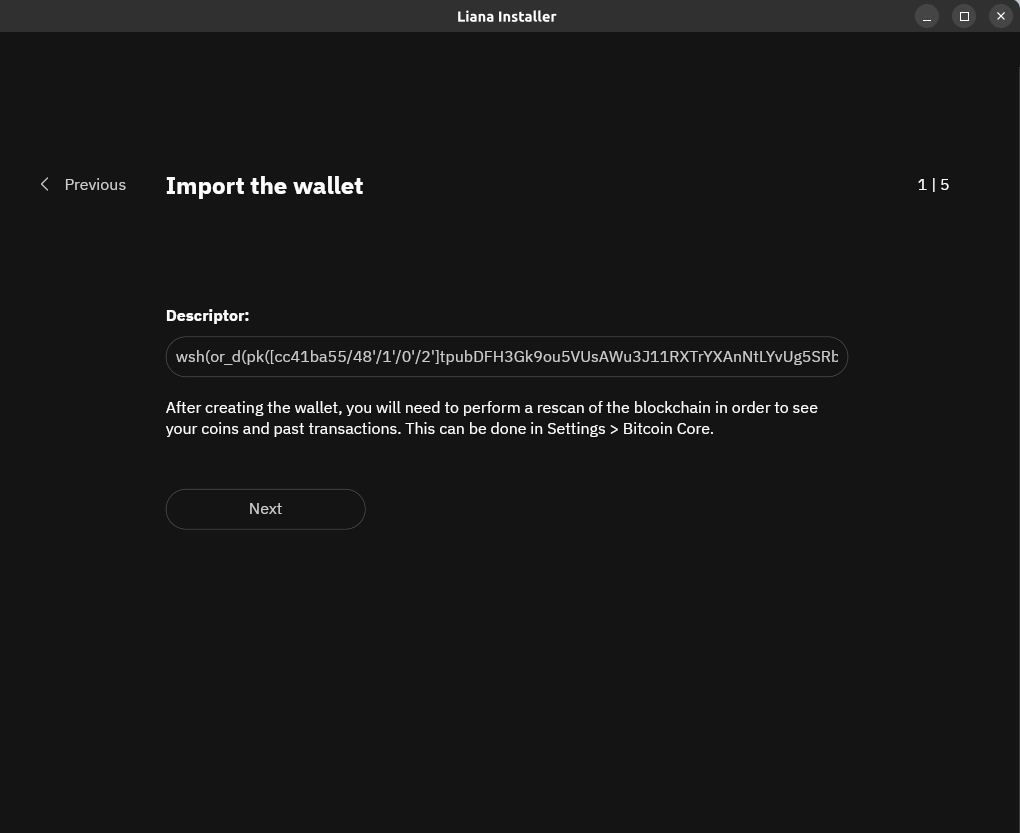
If the wallet you want to restore was already connected to the same email address via Liana Connect, you will be able to select it in the list of the “Load a previously used wallet” option. If that’s not the case, you will need to select “Load a wallet from descriptor”. In this latter case, after clicking on the option, you will need to either paste the descriptor - i.e. the “map” that is able to locate the wallet’s coins you are going to restore - or load it from your descriptor/wallet backup file and click on “Next”. The descriptor should have been backed up at the moment of the creation of the wallet. It should look something like:
wsh(or_d(pk([cc41ba55/48'/1'/0'/2']tpubDFH3Gk9ou5VUsAWu3J11RXTrYXAnNtLYvUg5SRb1N2ZZMZQB5t4NTcChBytMC4gGng2tSbHUEXZ9h7mQofusGkrP1jM3kqncG2Z1qML7Z5D/<0;1>/*),and_v(v:pkh([ea0ad332/48'/1'/0'/2']tpubDEkrkAs4yYYCsV6JQoAUptnNGsBbsbMRXdKKiiWWtSubPeFYWgH7f1PmeZ8PgpDSGrLrYNao95eWvRrMDi6BAdLrfzZgj23tsGYvoqd7Kn4/<0;1>/*),older(2))))#xeu6s7n9
If instead you selected the “Use your own node” option and configured your node, you will need to either upload a wallet/descriptor file or to paste the descriptor string and click on “Next”.
In all cases, after loading the wallet/descriptor, you will be given the possibility to import a mnemonic. In order to understand if your specific case requires it, you need to assess which are the keys that you have in possession belonging to the wallet you are restoring.
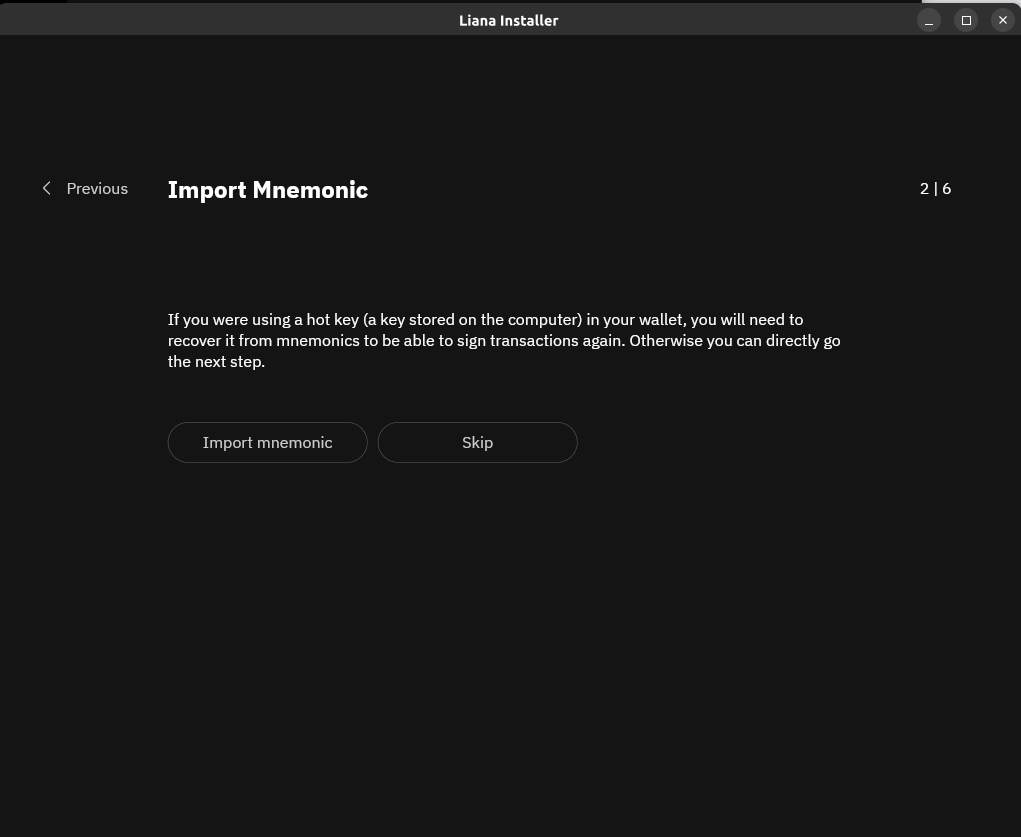
If all the keys that you possess are represented by a signing device → you should “Skip” the “Import Mnemonic” step and go to the “Register descriptor” one (see below).
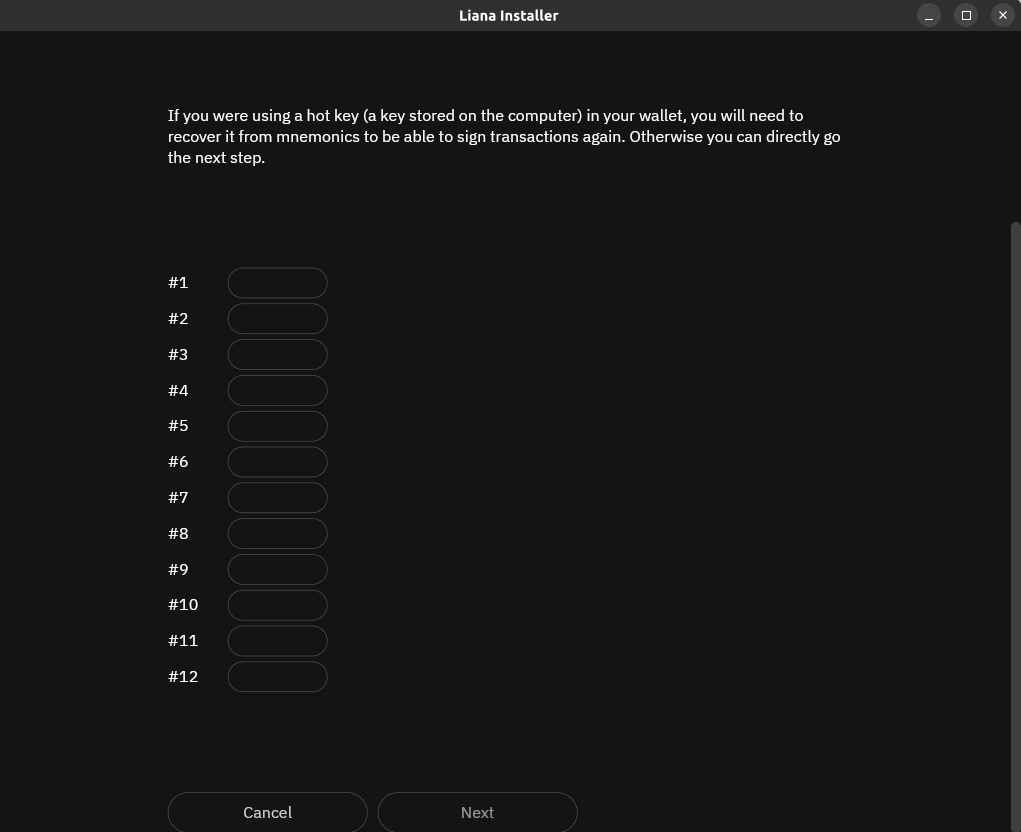
Else, if one of your keys is represented by a mnemonic phrase (i.e. a list of 12 words backed up on paper, steel or whatever) and you are ok with it being stored on your machine (which is not suggested for significant amounts) → you should click on “Import Mnemonic” and write the words in the correct order.
4. Register your descriptor
In the “Register descriptor” step, you should plug in the signing device(s) that you possess and that belong to the wallet you are restoring. Once connected to your computer, you should see them in the list on the bottom of the screen. Be sure to follow the steps required for the specific device to be selectable, that means at least usually unlocking it, but that varies depending on the hardware type (e.g. with Ledger you should also open the Bitcoin App installed there).
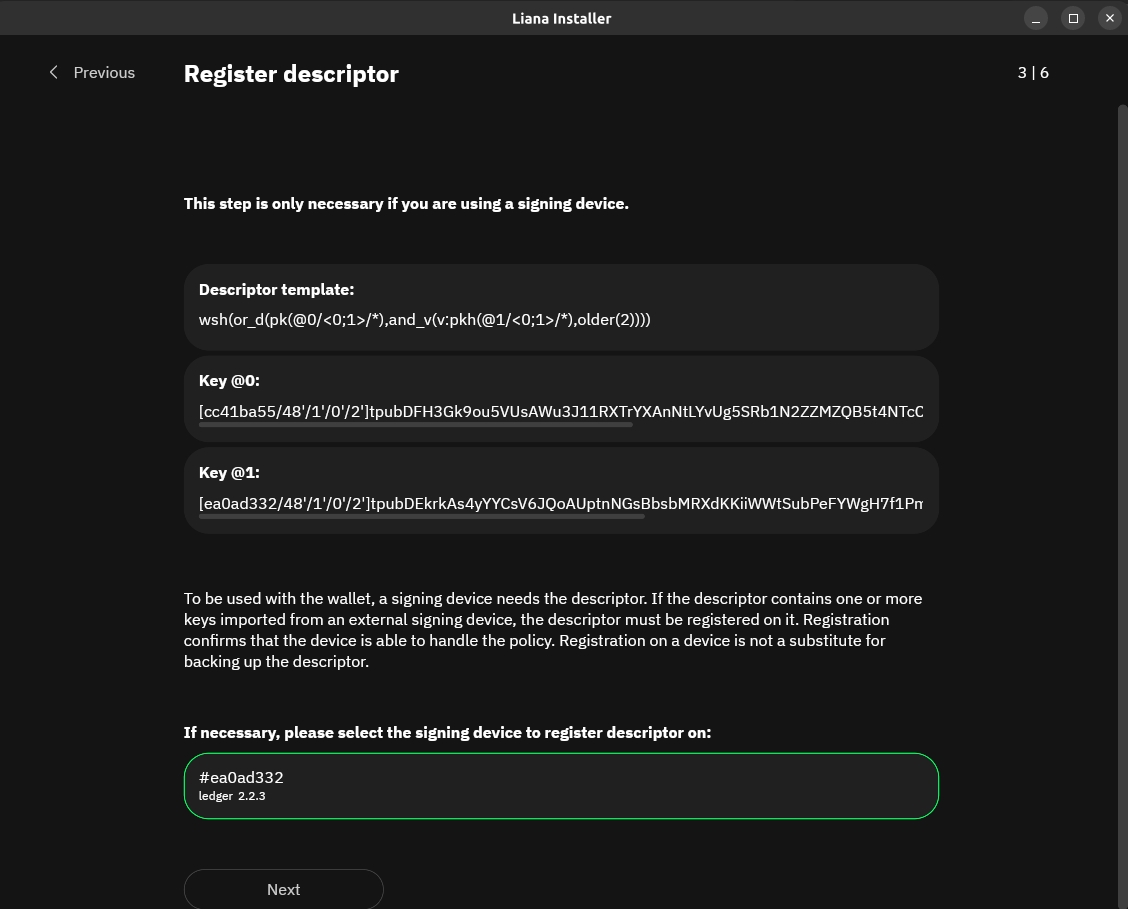
Select the device you want to register the descriptor on and follow the instructions displayed on its screen. This will allow the device to remember the wallet for future use.
After completing the registration, a green mark should appear on the device button:

After completing this step, you should be able to access your restored wallet!
5. Important considerations for the users who selected to use a Liana managed bitcoin node to restore their wallet:
At this point you will be probably seeing an empty balance. Before starting worrying about a possible loss of your funds, remember that in the descriptor step we were mentioning that you need to rescan the blockchain in order to see your past coins and transactions data. That’s the reason why you don’t see any balance at the moment. To perform the rescan, you need to go to Settings > Bitcoin Core.